

How to Make a Sourdough Starter
A few months ago, I asked on instagram saying that I was starting my sourdough journey and an overwhelming number of you said that you wanted to come along with me! This makes me so happy!
I am a sourdough newbie, but after baking a loaf almost every other day since January, I’ve learned a few things about my starter and the sourdough process and I hope to dispel any confusion.
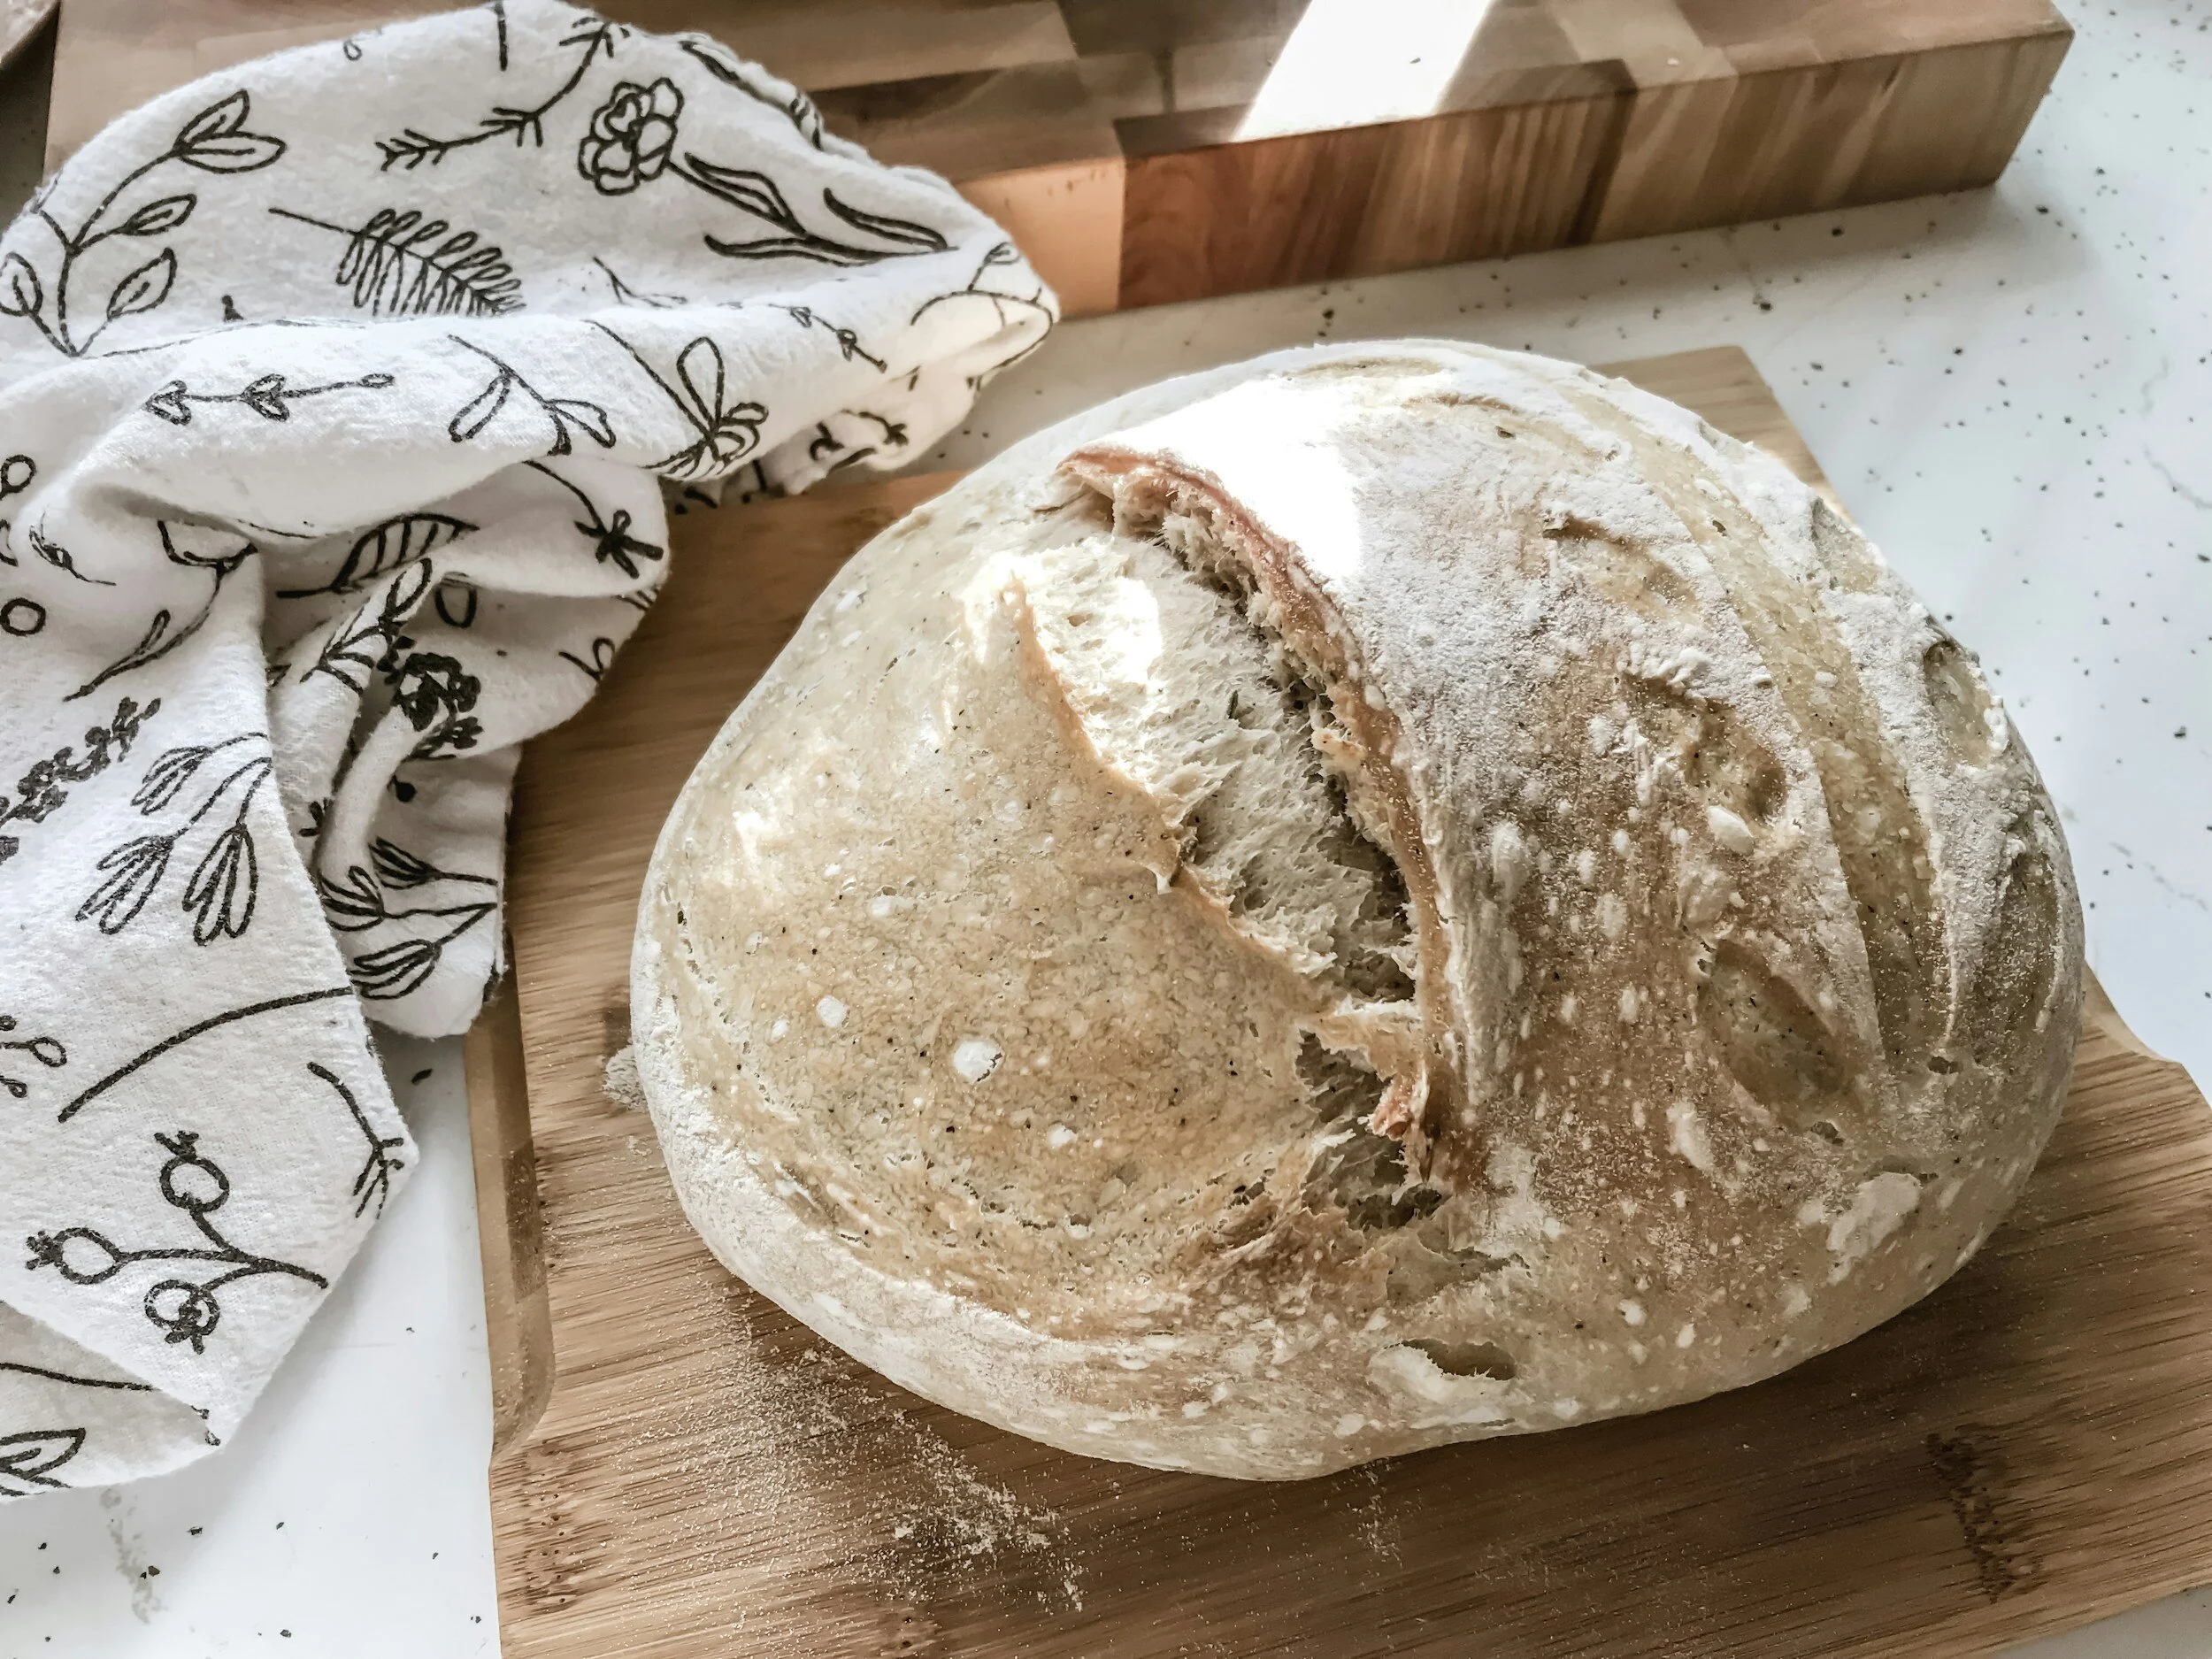
I’ve learned that no two sourdough loaves are ever the same. The process is all about timing, method and personal touch. Not only does sourdough taste so much better than commercially made breads, but it’s naturally occurring acids and the long fermentation period breaks down the gluten, making it easier to digest.
Sourdough seems to be such an intimidating process, but after some trial and error, I’ve learned a few things. The most important thing is that sourdough does not need to be overly complicated. I hope to simplify it for you.
Let’s start with a few sourdough terms!
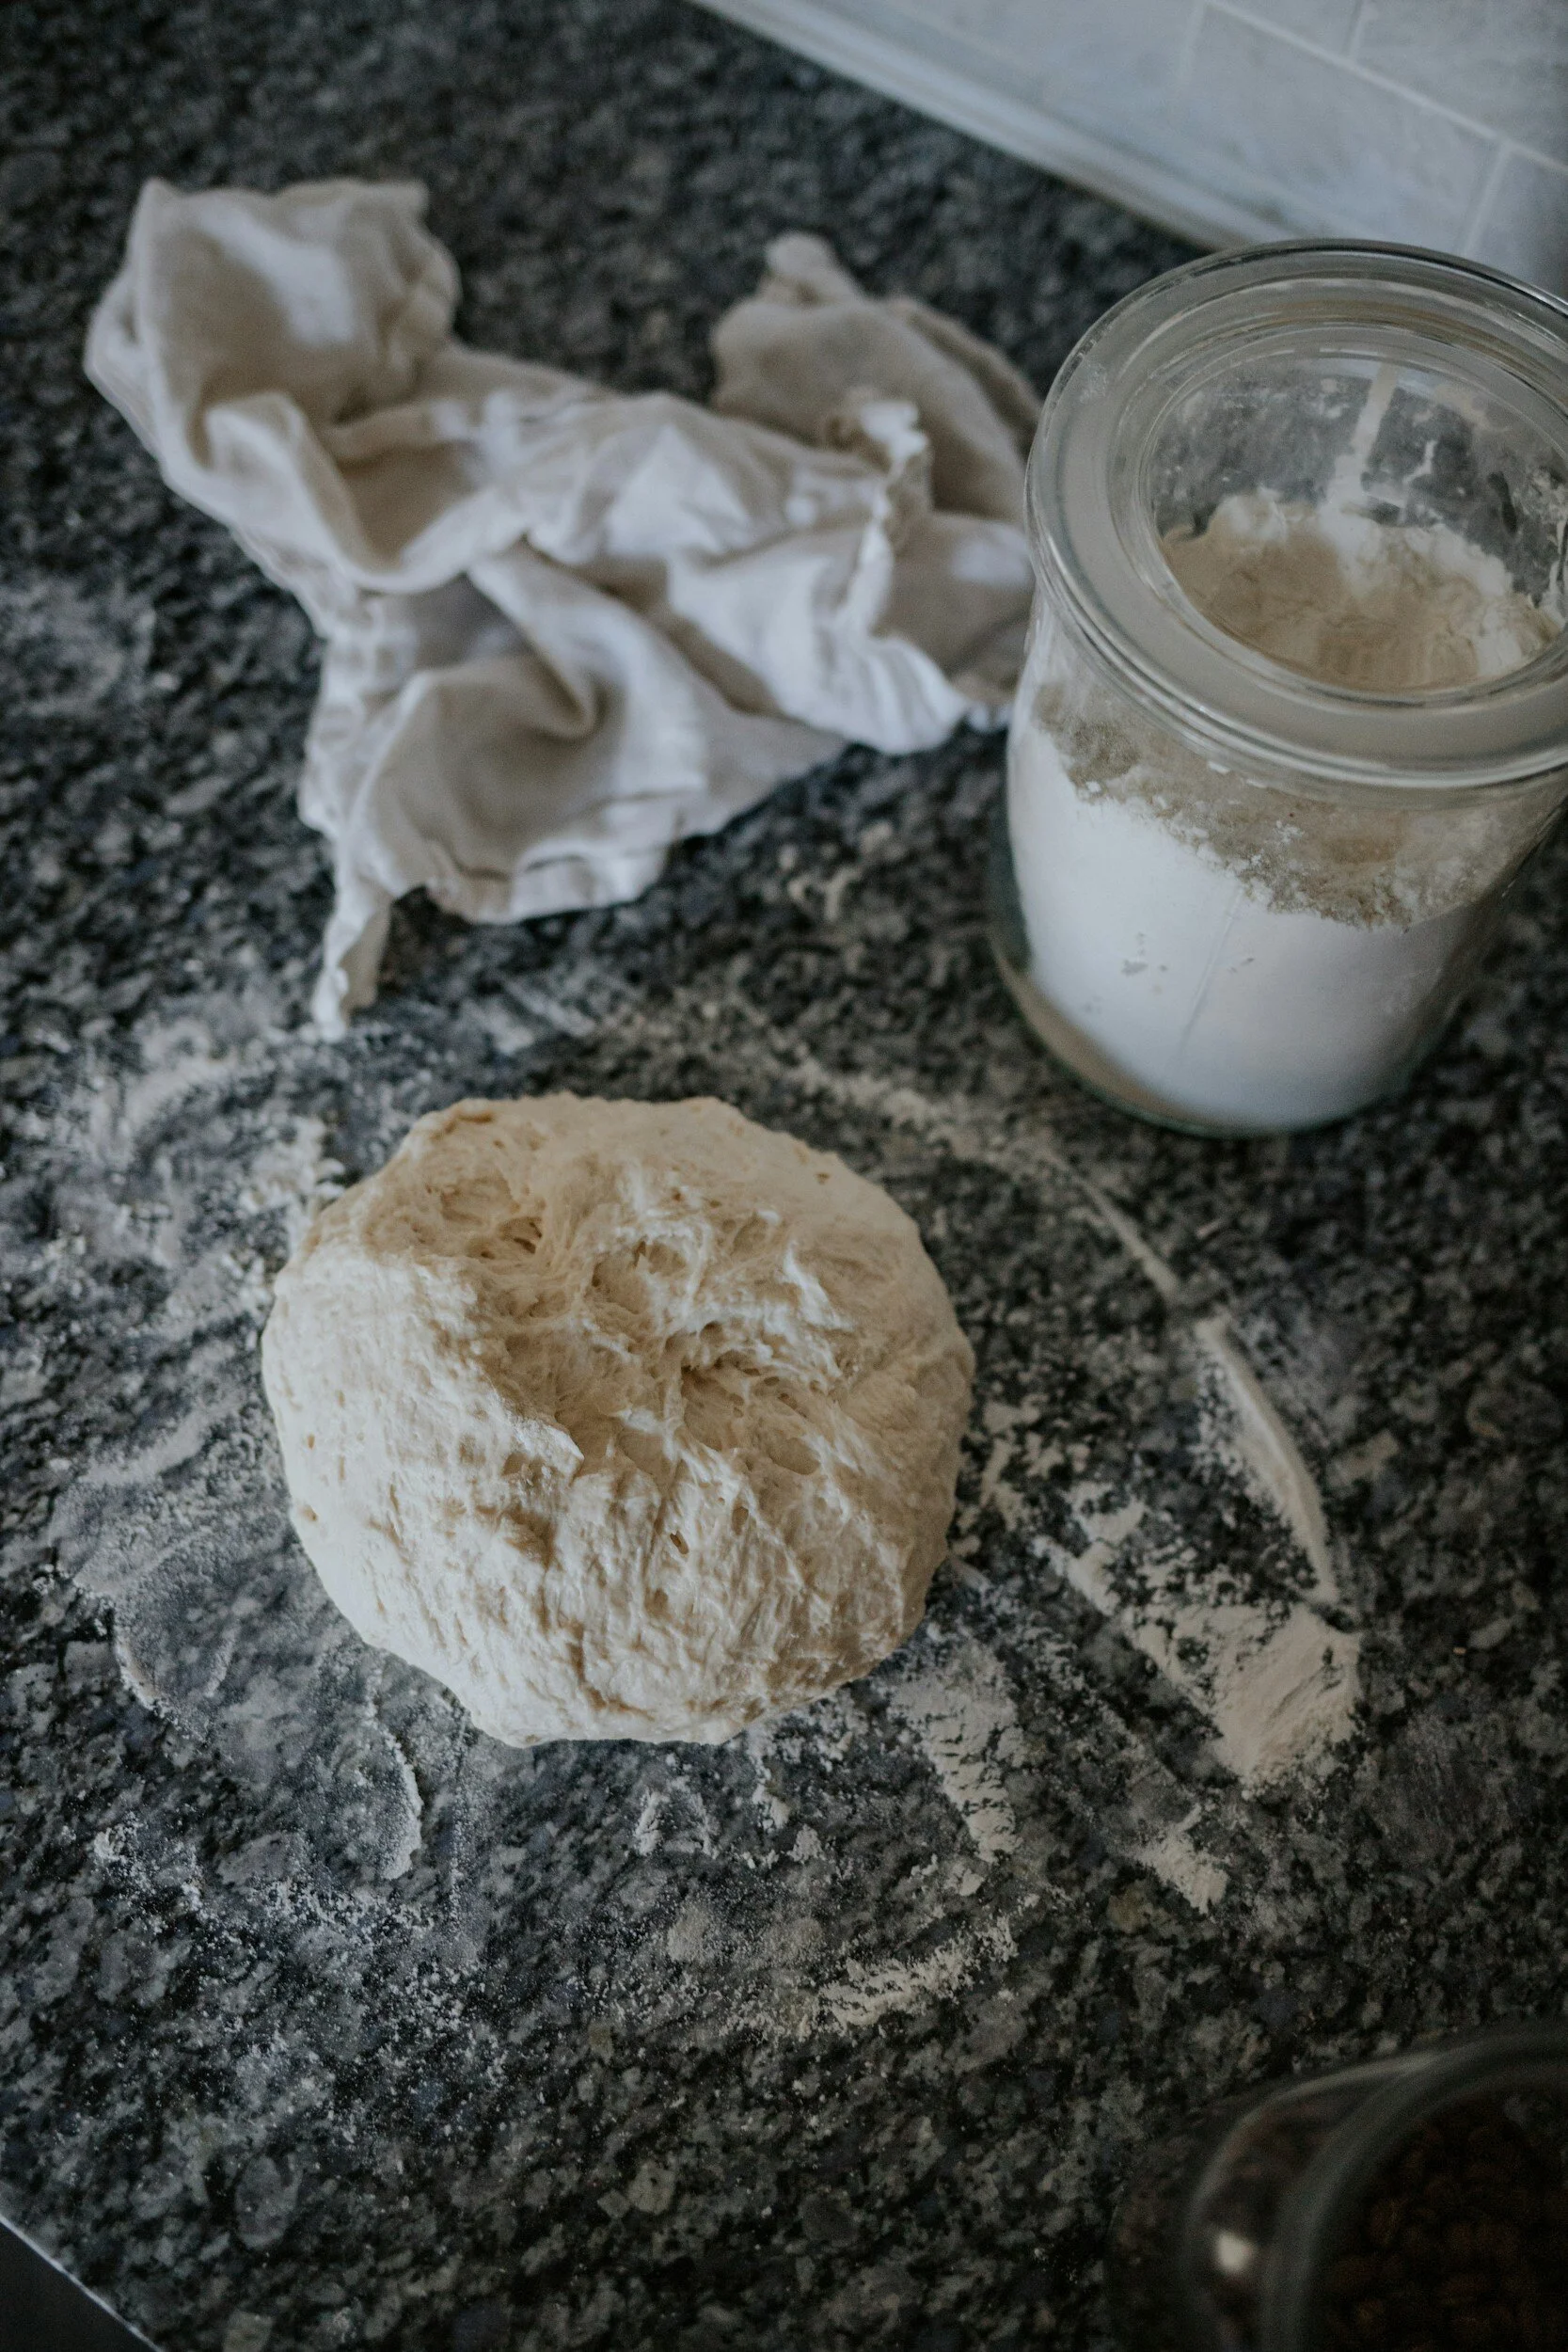
Sourdough starter - this is the foundation of sourdough bread. It’s a live, fermented culture made from flour and water. It is what replaces commercial yeast in a recipe.
At Peak - this refers to the peak of yeast activity after it’s been fed. It is the optimal time to use it to leaven your bread. It won’t grow anymore at this point and should have doubled in size and be bubbly.
Discard - think of this as leftovers. It doesn’t need to be thrown away, as the name implies. You can use it in other recipes. Discard just refers to your starter after it has passed it peak. It can be refer or thrown away. Always keep some sourdough starter to continue to make active starter.
Hooch- this is a brown liquid that appears on the top of a dormant starter. It is the byproduct of fermentation and can either be mixed in to the starter or poured off before feeding. If you stir it in, it creates a more potent sour tang.
Tools you will need for sourdough baking.
How to Make a Sourdough Starter
Ingredients:
lukewarm filtered water
bread flour or all-purpose flour
Directions:
DAY 1: In a a clean jar, add 100g unbleached all-purpose flour. Add in 100g warm, filtered water and mix until there’s no dry flour left and it looks like a thick paste.
Cover loosely with a lid and place in a warm location. I keep mine in the microwave or beside the stove.
DAY 2: Check to see if any bubbles have formed. Leave your starter for another 24 hours.
DAY 3: Start feeding. Remove half of the mixture (discard) and Add another 100g of flour and 100g lukewarm filtered of water. Mix well and leave in a warm place. You might need to start a clean jar.
DAY 4-5: Repeat Day 3. Don’t worry about the slightly sour smell. This indicates that wild yeast and bacteria are beginning to colonize the mixture.
DAY 6: Your starter should be bubbling by now! If it’s overflowing in your jar, discard half of it before feeding it the same amount from Day 3.
DAY 7: Your starter should be active. Now you are ready to make your sourdough! Leave the starter in a cupboard or on the counter and feed it every day, discarding about half each time. OR you can store it in the fridge and feed it once a week.
Notes
If you are an avid baker, store your sourdough on the counter (room temp) and feed it everyday. If you are only planning to bake periodically, store your starter in the fridge and bring it out when you are ready to feed it and bake with it.